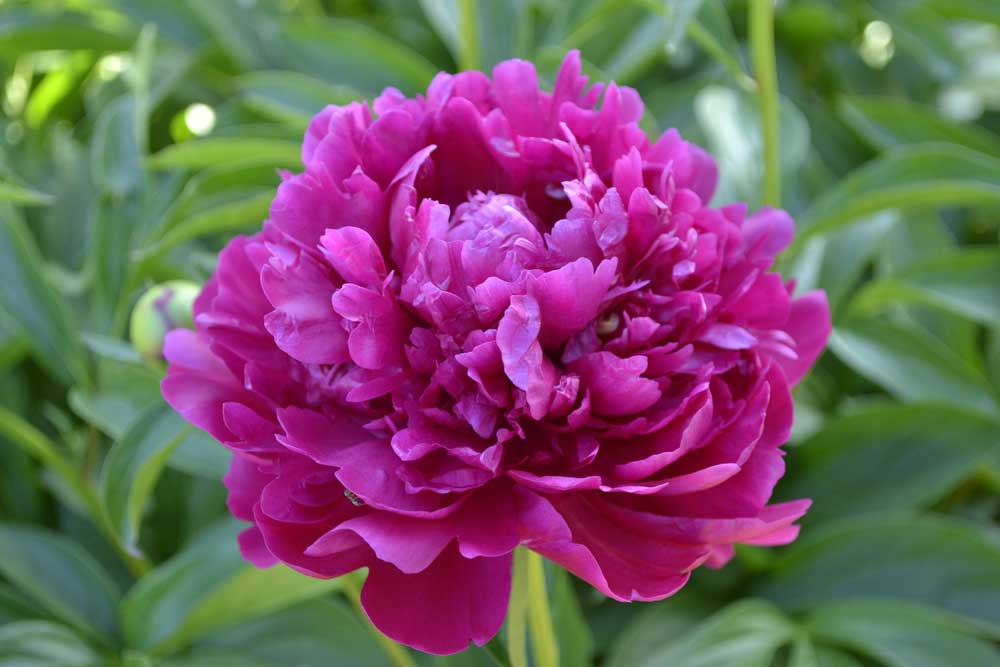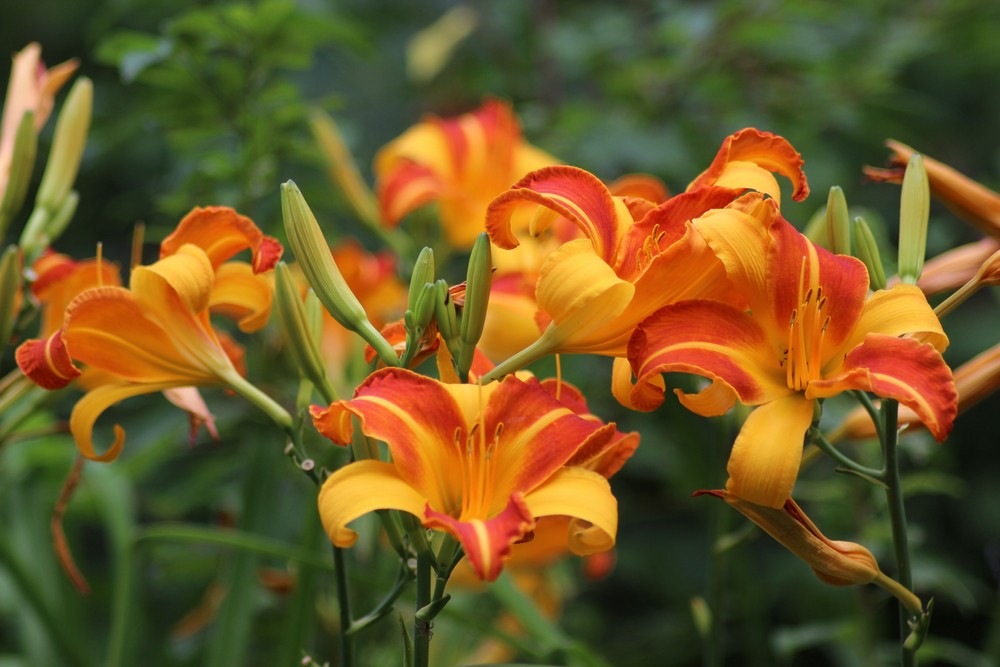
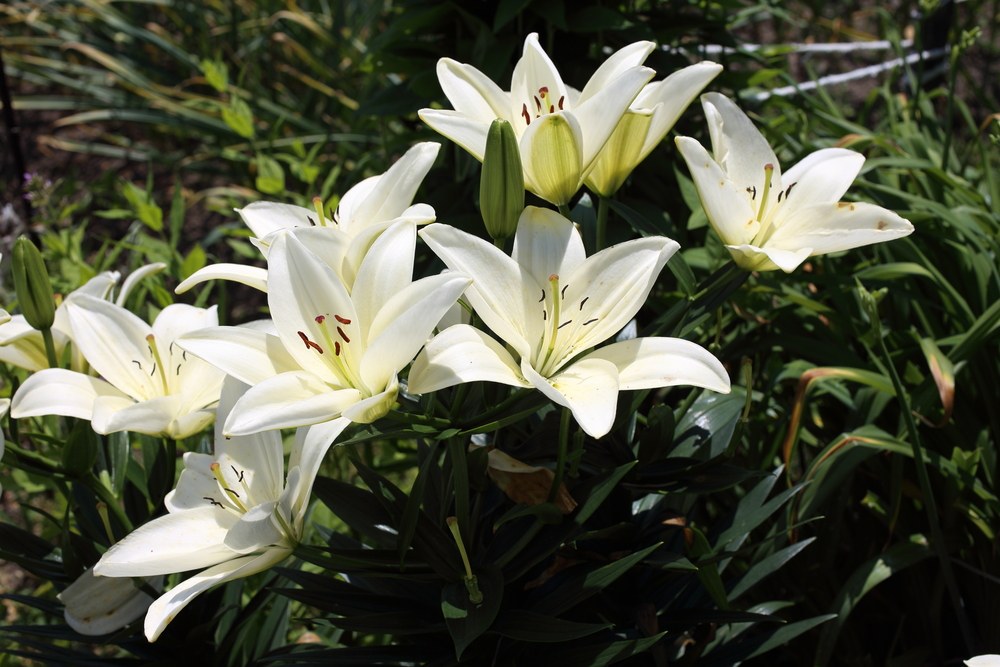
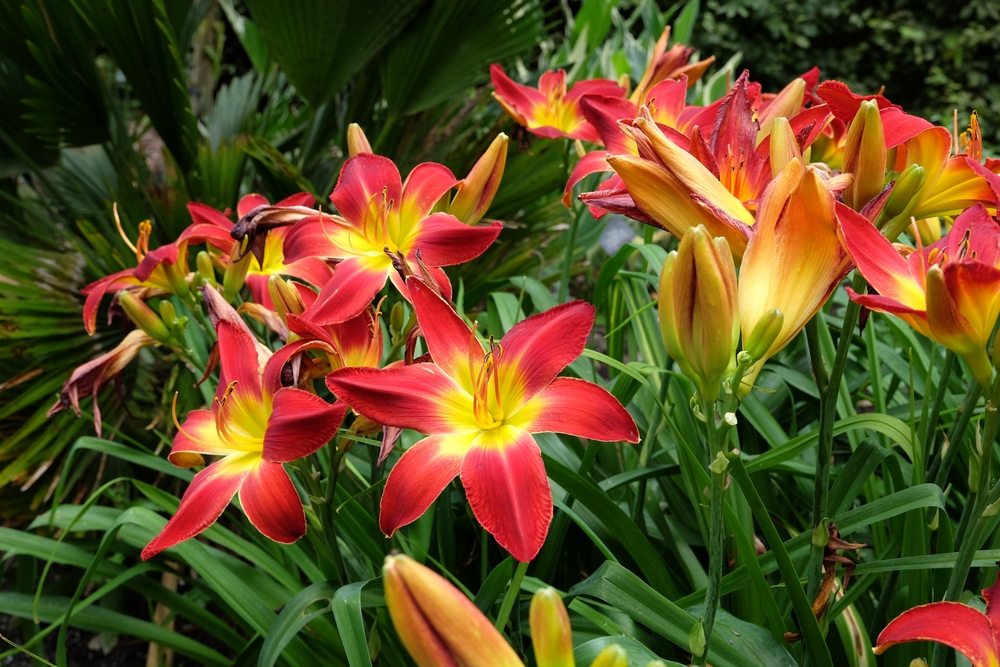
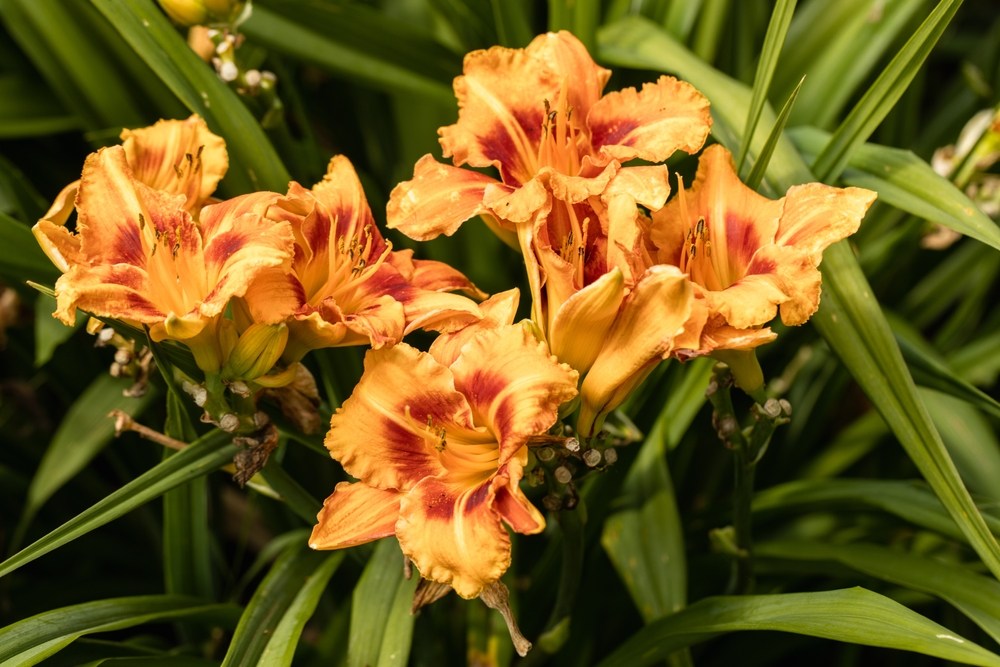
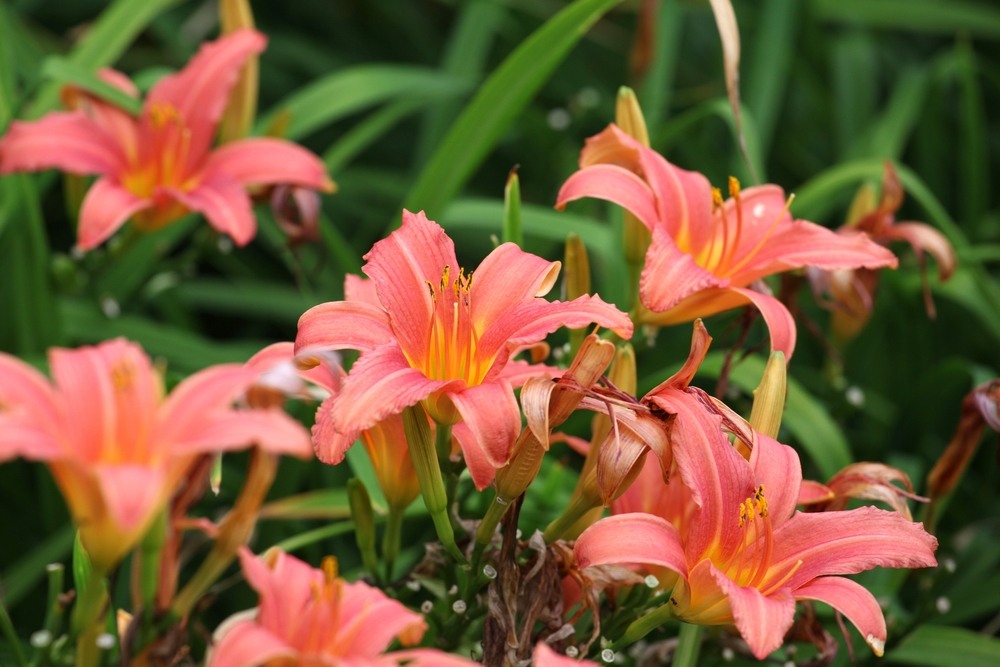
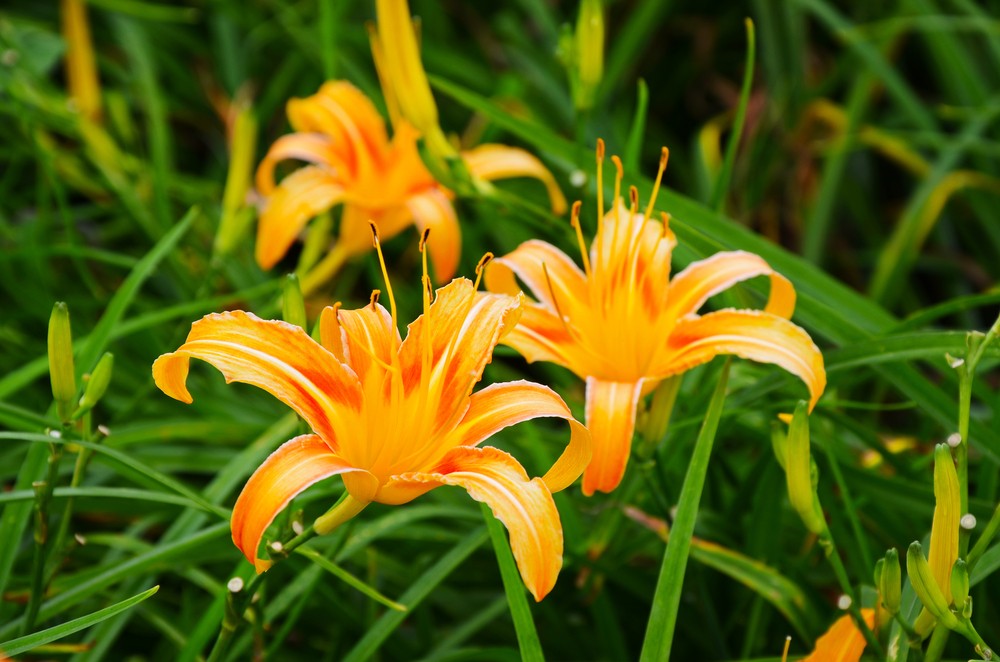
Daylilies are well-loved perennial plants known for their beautiful flowers and easy maintenance. One key aspect of daylily care is transplanting, which allows gardeners to optimize the plant’s growth, health, and flowering potential.
Knowing when and how to transplant daylilies is crucial to ensure their continued success in your garden.
Transplanting daylilies is best done during their dormancy period and when they are not actively flowering. This is typically in early spring or late fall.
By transplanting during these times, gardeners can minimize the risk of damaging the plant and ensure a successful transplantation with minimal stress.
Furthermore, understanding each step of the process can help prepare your daylilies for their new location and promote healthy growth.
Key Takeaways
- Transplant daylilies during dormancy, in early spring or late fall
- Understanding the transplant process is essential for success
- Proper post-transplant care ensures healthy growth and flowering
Understanding the Daylilies Transplanting Process
Daylilies are beautiful and hardy perennials that add vibrant colors to your garden. Transplanting daylilies can be done successfully if you understand a few important factors such as the optimal time and the ideal climate for moving these lovely plants.
Optimal Time for Transplanting
The best time to transplant daylilies is during the late summer or early fall, typically from August through October. This allows adequate time for the plants to establish their roots before the cold weather sets in. Another suitable time is in the spring, after the last frost.
- Late Summer/Fall: August through October
- Spring: After the last frost
The Ideal Climate
Daylilies thrive in a variety of climates, but transplanting is most successful when the soil temperature is between 55°F and 75°F (13°C and 24°C). Avoid transplanting in extreme heat or cold as the plants may struggle to take root and survive the stress of the move.
| Ideal Soil Temperature | Range |
|---|---|
| Fahrenheit | 55°F to 75°F |
| Celsius | 13°C to 24°C |
Remember to keep the daylilies well-watered during the first few weeks after transplanting, especially if the weather is dry or hot. With proper care, your daylilies are likely to grace your garden with their vibrant blooms for many years to come.
Preparing For Transplant
Garden Assessment
It’s important to take some time to assess your garden space before transplanting daylilies. Examine the area for factors such as sunlight, soil type, and drainage. Daylilies prefer:
- Full sun to partial shade: Ensure they receive at least 6 hours of sunlight per day.
- Well-draining soil: Test the drainage by digging a hole, filling it with water, and observing how fast it drains.
Choosing the New Location
When selecting a new location for your daylilies, consider these factors:
- Space: Daylilies need enough room to grow and spread. Provide 18-24 inches of space between plants for optimal growth.
- Soil: Amend the new planting area with compost or well-rotted manure to improve soil fertility and structure.
- Sunlight: As mentioned earlier, ensure the new location receives adequate sunlight.
Remember, transplanting daylilies is best done in early spring or fall, as they’re in their dormant phase during these periods.
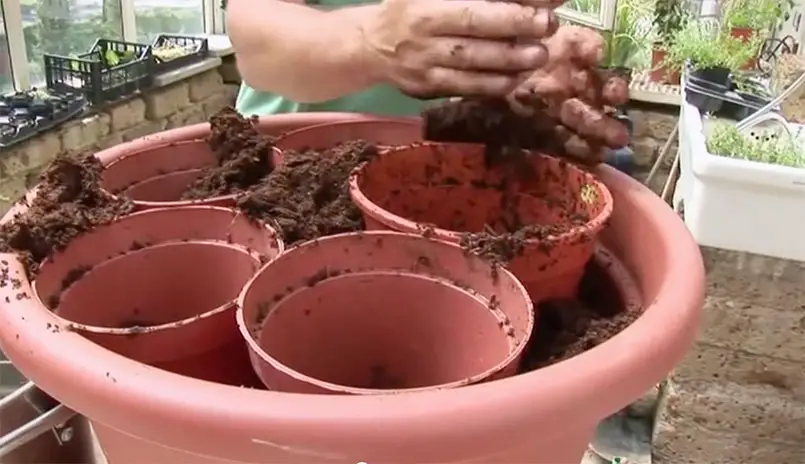
Steps to Transplant Daylilies
Daylilies are hardy and low-maintenance perennials. They can be transplanted at any time, although the best times to do so are spring and fall. Here are the steps to transplant daylilies:
Uprooting The Daylilies
- Water the plants a day before transplanting, so soil stays together around roots.
- Choose a cool, cloudy day to minimize stress.
- Prepare the tools you will need, including a spade, gloves, and a bucket or container to hold the uprooted daylilies.
- Dig around each daylily clump, about 6-8 inches away from the base. Push the spade at an angle, so it cuts under the root ball.
- Lift the clump out of the hole gently, keeping as much soil around the roots as possible. Place it in a bucket to move it to the new location.
Planting in the New Location
- Choose the right spot for your daylilies. They prefer a well-draining soil and full sun to light shade.
- Prepare the planting area by removing weeds, rocks, and debris. Loosen the soil and mix in compost to improve drainage if necessary.
- Make a hole in the center, about twice the size of the daylily’s root ball.
- Place the daylily clump in the hole, spreading the roots out evenly. Ensure the crown (where the leaves meet the roots) is at soil level.
- Backfill the hole with soil, tamping it down gently to remove air pockets.
- Water thoroughly and apply a layer of mulch around the plant to conserve moisture and inhibit weed growth.
New Plant Care
To ensure the success of your newly transplanted daylilies, it’s crucial to provide them with the appropriate care. Daylilies are fairly low-maintenance plants, but following some basic guidelines will help them flourish.
First, make sure you water the daylilies thoroughly after transplanting. This will help to settle the soil around the roots and remove any air pockets. Continue to water them regularly, but be careful not to over-water, as this can lead to root rot. If the soil is consistently moist yet well-draining, your daylilies will be happy.
Next, consider the nutritional needs of your daylilies. Applying a slow-release fertilizer during early spring and early fall can provide the necessary nutrients for vigorous growth and blooming. Be sure to choose a balanced fertilizer, such as a 10-10-10 formula, to promote healthy foliage and flowers.
It’s essential to keep an eye out for pests and diseases. While daylilies are relatively resistant to most issues, they can still be affected by pests like aphids and diseases like daylily rust. Inspect your plants regularly, and treat any problems using appropriate organic or chemical controls.
Lastly, deadheading spent blooms will encourage more flowers and help maintain a tidy appearance in your garden. This simple task involves removing the wilted blooms, allowing the plant to direct more energy into producing new flowers and foliage.
By following these friendly care tips, your transplanted daylilies are sure to thrive in their new location and reward you with delightful blooms.
Common Mistakes to Avoid
When transplanting daylilies, many people unknowingly make a few common mistakes. Avoiding these pitfalls will ensure your daylilies thrive in their new home.
Over-watering: It’s natural to want to give your transplanted daylilies plenty of water, but resist the urge to overdo it. Too much water can cause the roots to rot. Give your daylilies a good soak immediately after transplanting and then water regularly—but not excessively—thereafter.
Planting too deep or too shallow: Another common mistake is planting the daylilies at the wrong depth. Ideally, the crown of the plant should be just below the soil surface. Planting too deep can cause the plant to rot, while planting too shallow could expose the roots and make them vulnerable to damage.
Ignoring soil conditions: Daylilies thrive in well-draining soil. Ignoring your soil’s composition and drainage can lead to poor growth or even failure. Before transplanting, take the time to amend your soil if needed or select a planting location with appropriate conditions.
Transplanting at the wrong time: It’s best to transplant daylilies when they are dormant, typically in the early spring or fall. This helps the plants to establish their roots in their new location without the added stress of active growth. Avoid transplanting during the height of summer, as heat and drought can cause unnecessary stress to the plants.
By being aware of these common mistakes and taking care to avoid them, you’ll be well on your way to successful daylily transplanting and a beautiful, thriving garden.
FAQs about Daylily Transplanting
When is the best time to transplant daylilies?
The ideal time to transplant daylilies is during their dormant period, which is typically in early spring or late fall. Transplanting them during this time reduces stress on the plants and allows them to establish their root system before the blooming season.
How do I prepare daylilies for transplanting?
To prepare your daylilies for transplanting, follow these steps:
- Water them well the day before you plan to transplant them.
- Trim excess foliage to about 6 inches to minimize moisture loss. Don’t worry, they’ll grow back quickly!
- Carefully dig up the plants, keeping as much of the root system intact as possible.
- Gently remove any loose soil from the roots and trim damaged roots.
How far apart should I plant my transplanted daylilies?
Spacing depends on the size of the mature plant, but a general rule of thumb is to plant them 18 to 24 inches apart. This gives each plant enough space to grow and flourish without overcrowding other plants.
How deep should I plant my transplanted daylilies?
When transplanting daylilies, dig a hole that is slightly wider and deeper than the root system. Position the plant with the crown (the point where the roots and stems meet) about an inch below the soil surface. Fill in the hole with soil and gently firm it to eliminate air pockets.
How do I care for my transplanted daylilies?
After transplanting, water your daylilies thoroughly and add a layer of mulch to help retain moisture and regulate soil temperature. Keep the area around the plants weed-free, as weeds can compete for nutrients and water. During their first year after transplanting, water them regularly, especially during dry spells. After that, daylilies will become more drought-tolerant and require less frequent watering.