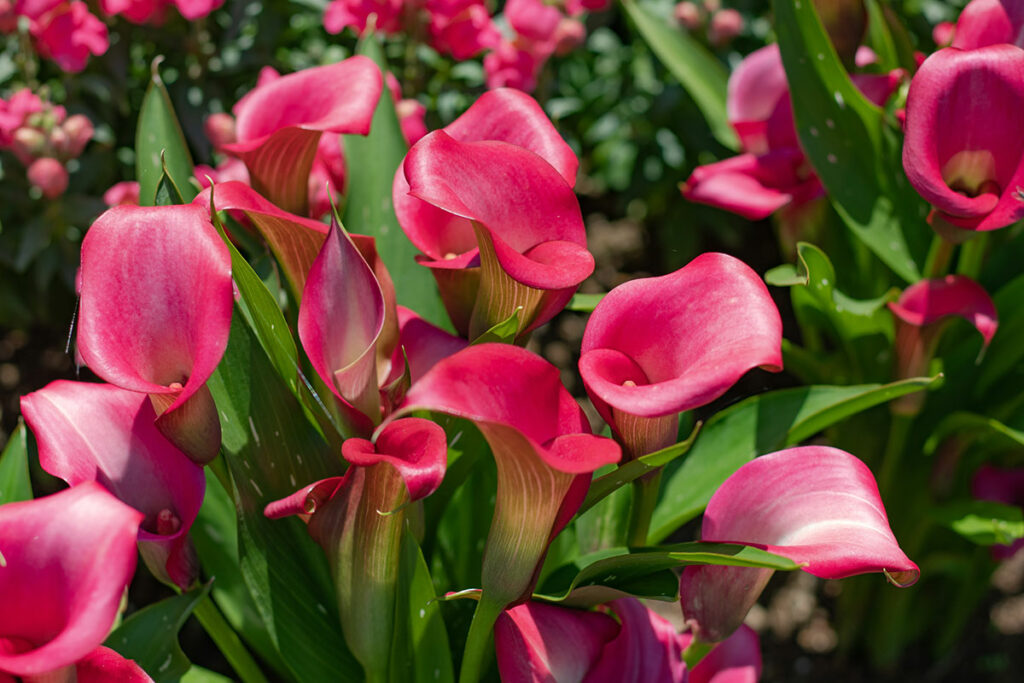
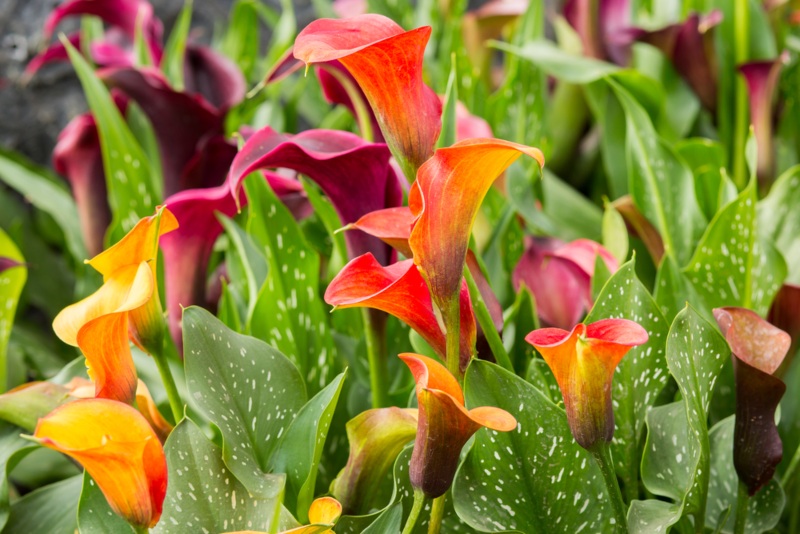
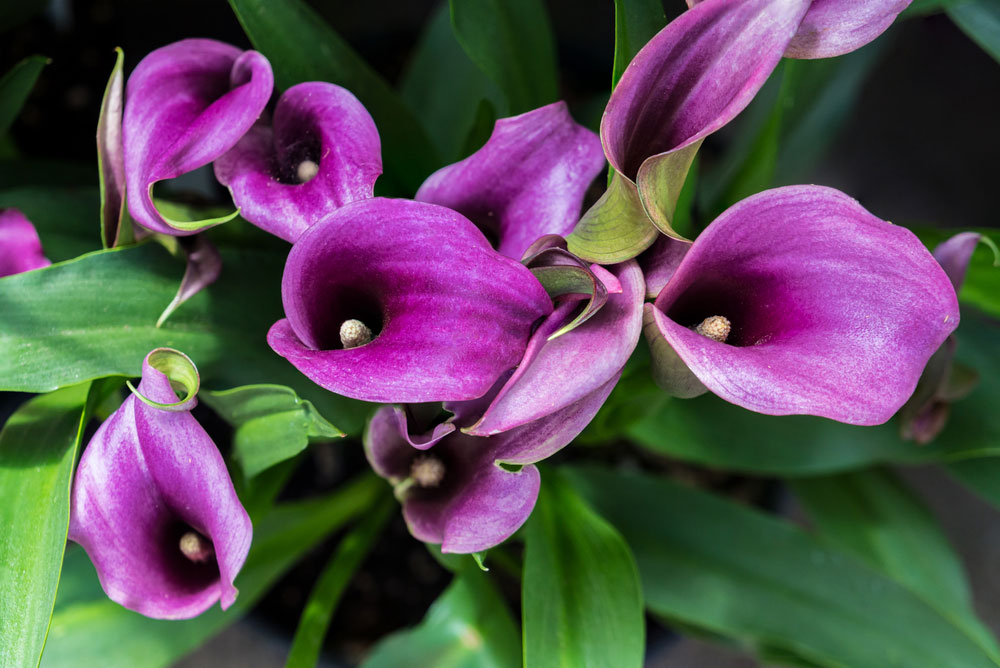
Are you ready to fill your garden with elegant Calla Lilies this summer? With their sleek, trumpet-shaped flowers and lush green foliage, these unique blooms are an eye-catching addition to any outdoor space. Known for their range of vibrant colors, from classic whites and yellows to rich purples and reds, Calla Lilies can truly transform your garden into a stunning summer oasis.
Getting your Calla Lilies to bloom can sometimes be a challenge, but with the right care and attention, you’ll enjoy these captivating flowers throughout the season.
In this article, we’ll guide you through the essential steps to help your Calla Lilies reach their full, blooming potential. From planting and watering to proper sunlight exposure and nourishment, we’ll cover everything you need to know for a successful and vibrant bloom.
Understanding Calla Lily Blooming Patterns
Calla Lilies are known for their elegant and vibrant blooms that add a touch of sophistication to any garden. To help your Calla Lilies bloom this summer, it’s essential to understand their blooming patterns.
Calla Lilies typically bloom from late spring to early summer, depending on the climate and growing conditions in your area. Ideally, you want to plant your Calla Lilies when the temperatures are consistently above 50°F (10°C) during the day and only slightly cooler at night. This will give your plants the perfect environment for them to grow and eventually produce those beautiful blooms that you’re hoping for.
Watering plays a significant role in the blooming patterns of Calla Lilies. They prefer consistently moist soil, especially during their active growing period.
However, be careful not to overwater, as this can make the soil too soggy and cause the bulbs to rot. As a general rule, aim to water your plants once the top inch of soil has dried out.
Proper nutrition is also essential for your Calla Lilies to bloom. These plants require a balanced fertilizer with an even ratio of nitrogen, phosphorus, and potassium (such as a 10-10-10 formula). Be sure to fertilize your Calla Lilies about every six weeks during their active growth phase. This will provide them with the nutrients they need to produce those beautiful blooms.
Ensuring that your Calla Lilies receive an ample amount of sunlight is another crucial factor in their blooming patterns. These plants typically thrive in bright, indirect light, receiving about 6-8 hours of sunlight per day. If you notice that your Calla Lilies are not blooming, try moving them to a sunnier location in your garden or adjusting any shading elements that could be blocking their exposure to the sun.
In summary, understanding the Calla Lily blooming patterns involves providing them with the right growing conditions such as temperature, water, nutrition, and sunlight. By doing so, you can enjoy these stunning flowers in your garden this summer.
Choosing the Right Location
Sunlight Exposure
To ensure your Calla Lily blooms beautifully this summer, select a location in your garden that receives plenty of sunlight. These gorgeous flowers require at least 6 hours of direct sunlight per day to thrive and produce vibrant blooms. However, if you live in a region with intense afternoon sun, consider providing some light shade to protect your Calla Lily from scorching.
Temperature Considerations
Calla Lilies prefer a temperature range between 55°F (13°C) and 75°F (24°C). Keep in mind that extreme temperatures may cause stress to your plants, potentially delaying or inhibiting their flowering. Monitor your garden’s temperature and take the necessary measures to maintain a favorable environment for your Calla Lilies. Remember to move potted plants indoors during frost or extreme heat to protect them from damage.
You may consider planting your Calla Lilies near structures or other plants that can provide partial shade and help maintain optimal temperature levels. By offering proper sunlight exposure and suitable temperature conditions, you’ll be well on your way to enjoying a flourishing garden filled with stunning Calla Lily blooms this summer.
Proper Soil Preparation
Soil pH
Your calla lilies will thrive in slightly acidic soil with a pH between 6.0 and 6.5. To determine your current soil pH, you can use a soil test kit, which can be easily found at your local garden store. If your soil is too acidic or alkaline:
- Increase acidity by adding sulfur, peat moss, or ammonium sulfate.
- Decrease acidity by adding lime or wood ash.
Remember to follow product instructions, and measure your soil pH again after amendment to ensure you’ve achieved the desired pH level.
Drainage
Calla lilies require well-draining soil, as their roots may rot in standing water. To check your soil’s drainage:
- Dig a hole: About 12 inches deep.
- Fill with water: Let it drain completely.
- Refill the hole: Measure the time it takes to drain this time.
Ideal drainage time for calla lilies is between 10 and 20 minutes. If your soil drains too slowly, improve it by:
- Adding coarse sand or perlite to increase aeration.
- Incorporating organic matter such as compost or well-rotted manure to enrich the soil.
If your soil drains too quickly, adding organic matter can also help retain moisture. With proper soil preparation, your calla lilies should be well on their way to a beautiful bloom this summer.
Watering and Fertilization
Watering Frequency
To help your Calla Lily bloom beautifully this summer, it is essential to water it properly. Generally, you should water your plant when the top inch of soil feels dry, usually every 5-7 days. However, remember to adjust the frequency based on your local climate, as hot and dry weather may require more frequent watering.
Fertilizer Selection
Choosing the right fertilizer can significantly impact your Calla Lily’s blooming potential. For optimal results, use a balanced fertilizer with a 10-10-10 or 20-20-20 ratio, which will provide the necessary nutrients for vigorous growth. Make sure to follow the label instructions for the correct dosage.
Timing
Timing is crucial when it comes to fertilizing your Calla Lily. To promote blooming and overall plant health, it’s best to apply fertilizer every 4-6 weeks during the growing season. Start when the first sprouts appear in spring and continue until the plant begins to die back in autumn.
Keep these watering and fertilization tips in mind, and you’ll be on your way to showcasing stunning Calla Lily blooms in your garden this summer!
Pruning and Maintenance
Taking care of your Calla Lily plants includes proper pruning and maintenance to encourage blooming throughout the summer. In this section, we’ll discuss the importance of removing dead leaves and techniques for doing so.
Removing Dead Leaves
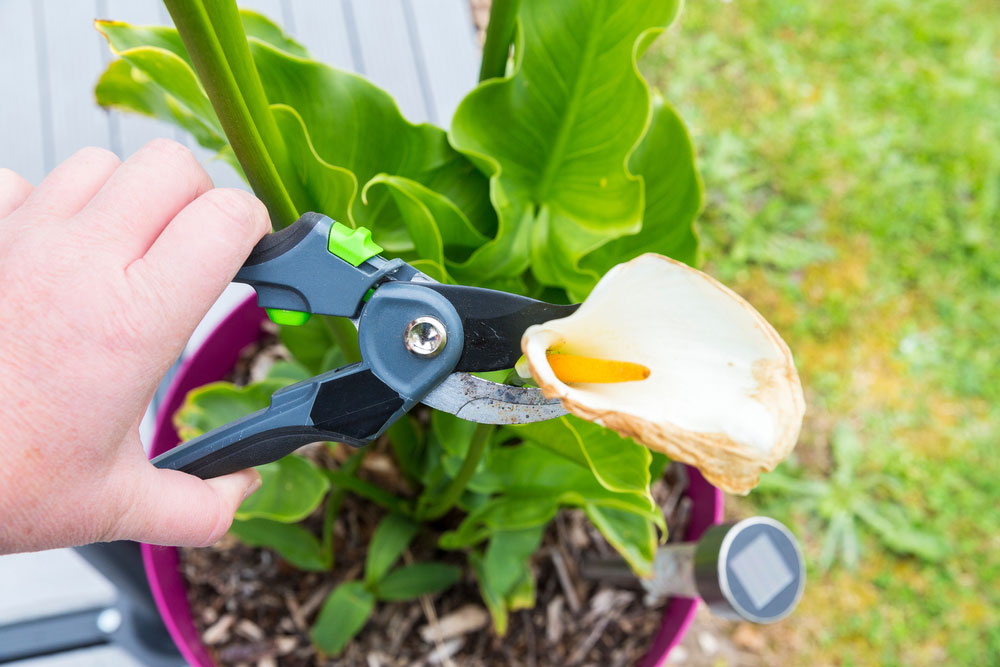
Dead leaves can hinder the growth of your Calla Lilies, so it’s essential to remove them regularly. When you spot a dead leaf, follow these easy steps:
- Use a pair of clean, sharp pruning shears or scissors.
- Locate the base of the dead leaf, where it connects to the main stem.
- Cut as close to the main stem as possible, without damaging the healthy tissue of the plant.
Removing dead leaves not only ensures that your plant remains healthy, but also allows more light to reach the remaining leaves. This will promote better growth and blooming throughout the summer.
It’s important to keep an eye out for any signs of pests or diseases when removing dead leaves. Watch for:
- Yellowing leaves: This could be a sign of overwatering, underwatering or a nutrient deficiency. Adjusting your watering schedule and introducing a balanced fertilizer may help.
- Pests: Common pests like aphids and spider mites can feed on Calla Lily leaves, causing damage. If you spot any pests, treat them with suitable insecticides or natural remedies like neem oil.
Remember to maintain a routine check on your Calla Lilies throughout the summer season. With proper pruning and maintenance, your Calla Lily plants will flourish and brighten up your garden with beautiful blooms.